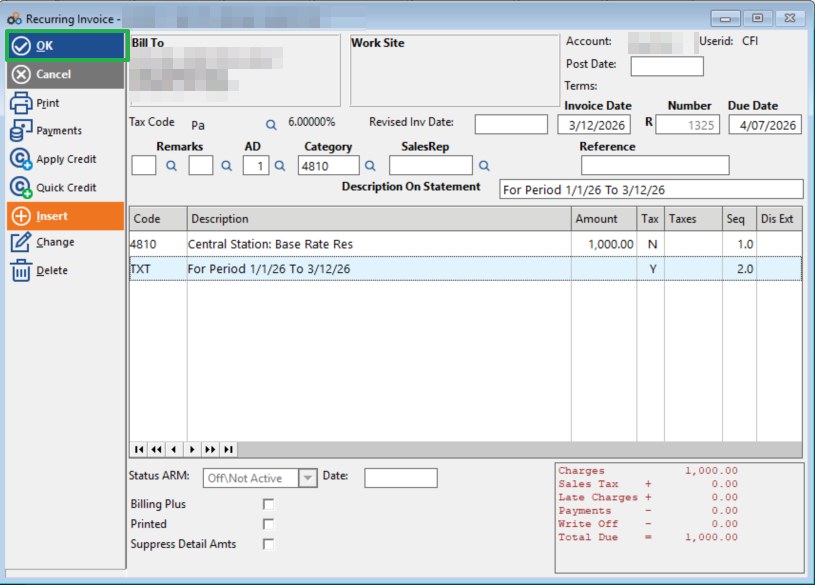
Overview
This guide explains how to post a single payment toward multiple invoices at once in Cornerstone Billing Solutions. By tagging the invoices you want to pay, the system automatically totals the selected amounts and streamlines the posting process — saving time and reducing manual entry errors.
This guide is intended for dealers who receive customer payments that cover more than one outstanding invoice at a time. For related account payment posting and screen layout details, refer to the article Untitled Article (Posting Payments - Related Accounts, May 6, 02:30 PM).
Step 1 — Access the Payments Function
Click the Payments Icon near the top of the screen to open the Post Payments function.

? NOTE
You can also view a customer's entire payment history by clicking the Invoice History icon. However, to post payments to multiple invoices, always use the Payments icon.
Step 2 — Select Post Payments and Identify the Customer
From the menu that appears, select Post Payments.
In the screen that opens:
- Choose the Customer or Account Number you want to post the payment toward.
- Click OK to proceed.

Step 3 — Select the Invoices to Pay
Once the correct customer account is loaded, you are ready to tag the invoices you want to pay.
- Check the boxes next to the invoices you want to post the payment toward.
- Click the Apply Payment to Tagged Invoice icon once you have selected all relevant invoices.


Step 4 — Enter Payment Information
The payment entry screen will open. The system will automatically:
- Total the selected invoice amounts.
- Place that total in the Check Amount field.
You then need to:
- Enter the check number in the Check Number field.
- Verify the amount in the Check Amount field is correct.
⚠️ IMPORTANT
Common Mistake: Entering the check number as the payment amount instead of the correct dollar amount. Always verify the Check Amount field before clicking OK.
Step 5 — Adjust the Payment Amount (If Needed)
If posting a payment that is different than the total amount of the selected invoices:
- Overwrite the Check Amount field with the actual payment amount received.
- The Recurring and Product checkboxes that appear on this screen allow you to choose which types of invoices any resulting credit can be applied against.

Step 6 — Complete the Payment
- Click OK to process the payment.
- If a credit amount has been created, it will appear below the payment confirmation area.
- Click Close to exit the screen.

Important Reminders
⚠️ IMPORTANT — Review Credits Regularly
Be sure to review your Credit Report frequently to make sure you have not accidentally created credits.
Common Mistake: Posting the check number as the amount paid instead of the correct payment amount.
Regular review helps catch and correct any posting errors quickly.
Benefits of This Method
| Benefit | Detail |
|---|---|
| Time Savings | Post one payment to multiple invoices at once. |
| Accuracy | System automatically totals selected invoices. |
| Flexibility | Choose which invoices to apply the payment toward. |
| Credit Management | Control which invoice types (Recurring or Product) credits apply to. |
Need Additional Help?
Our Customer Success team is here to assist you.
Phone: 847-405-9517 x1
Email: customer.success@alarmbills.com
Copyright © 1999–2026 Cornerstone Billing Solutions. All rights reserved.
Was this article helpful?
That’s Great!
Thank you for your feedback
Sorry! We couldn't be helpful
Thank you for your feedback
Feedback sent
We appreciate your effort and will try to fix the article